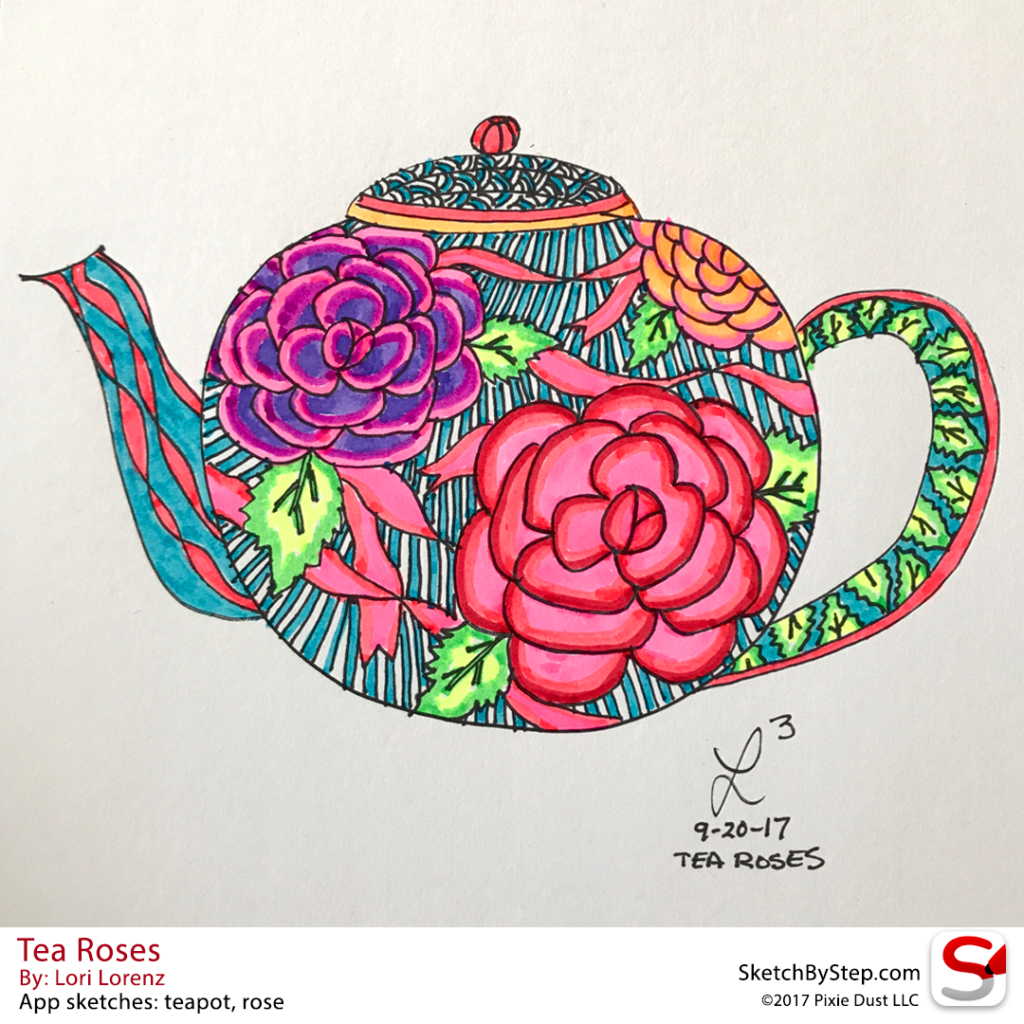
Want to doodle Tea Roses too?
Materials
- Sketchpad with bright white paper
- Permanent fine point black marker
- Assorted colors of neon and mixed watercolor highlighters
Sketches from Sketch-by-Step
In the app, tap on the Search icon to open the Search window. Tap on the Sketchbook icon to see all the sketchbooks and tap a sketchbook to select it. Next, tap on an image of one of the categories to see all the sketches in that category.
- Rose, in Nature sketchbook and Plants category
- Teapot, in Facilitator sketchbook* and Avatar Icons category
*Note that you need to log into the app with the Facilitator ID. Don’t have it? Simply sign up for the Facilitator Bonus here to have the credentials emailed to you.
Tip: Use a blank piece of sketchbook paper inserted behind the page you are working on to prevent bleed through marks on the next page.
Steps
Use your permanent black marker for steps 2 to 9. Use the watercolor highlighters after all the black lines are done in step 10.
- Practice drawing the teapot and the rose in the app using a stylus
- Draw the teapot first. Draw the teapot to fill the sketchbook page.
- Draw roses. Draw a number of roses on the teapot. Adding a partial rose near an edge gives it the illusion of being 3-D.
- Draw leaves on the handle.
- Draw ribbons between roses.
- Draw ribbons on the spout.
- Fill the background of the body with stripes
- Fill the teapot cover with rows of semi-circles
- Add curved stripes to the lid’s ball handle
- Color the drawing from top to bottom so it doesn’t smudge.